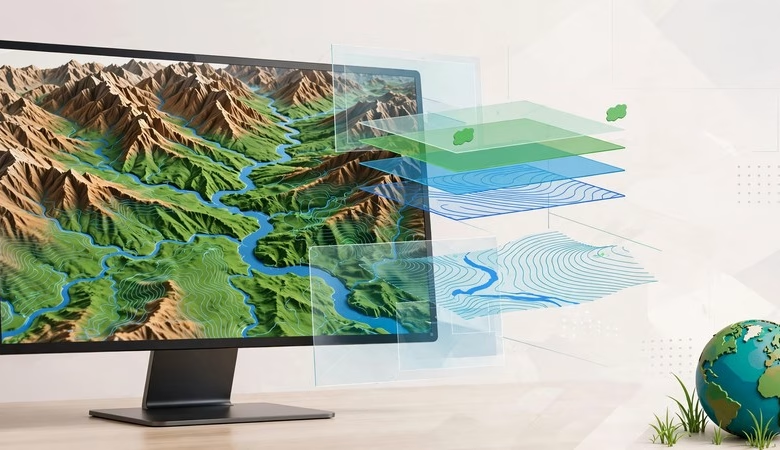
This GRASS GIS tutorial takes you from zero to your first real analysis. GRASS GIS (Geographic Resources Analysis Support System) is a free, open-source GIS with 400+ analysis modules. Students use it for terrain analysis, watershed studies, and remote sensing — tasks where basic point-and-click tools fall short. This guide walks you through installing GRASS 8.5, understanding its database system, importing an elevation model, and creating your first shaded relief map.
You need no prior GIS experience. We keep every step plain and short. By the end, you will run GRASS modules from the GUI and the command line, and export your result as a GeoTIFF. Let’s begin.
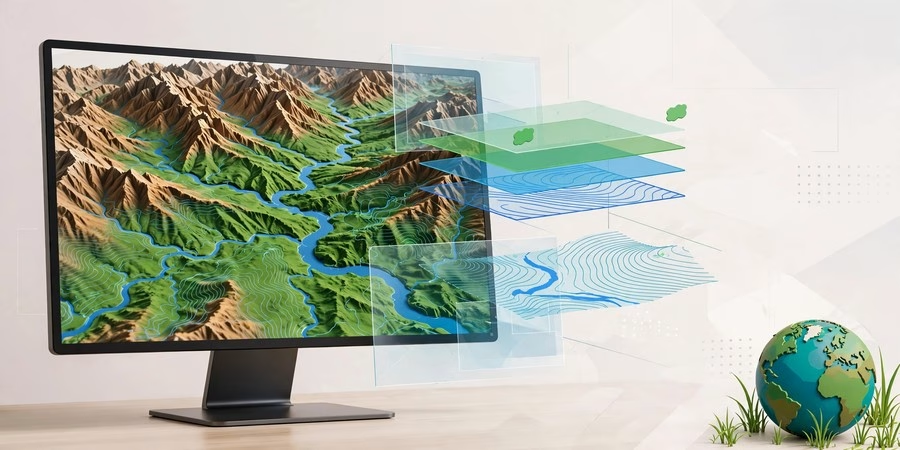
GRASS GIS Tutorial: Your First Project, Step by Step
What Is GRASS GIS and Why Do Students Learn It?
GRASS GIS is one of the oldest GIS packages in the world, first released in 1984. It is maintained by the OSGeo foundation and released as free, open-source software under the GNU GPL. The current version is 8.5.0, released in May 2026.
Students learn GRASS for three simple reasons. First, it is completely free — no licenses, no trial limits, no watermarks. Second, its 400+ core modules cover raster, vector, and image processing at a depth that rivals commercial tools. Third, learning GRASS teaches real geoprocessing thinking: projections, computational regions, and command-line workflows that transfer to every GIS career tool.
Note that GRASS also runs inside QGIS through the Processing Toolbox. Our QGIS download guide pairs well with this tutorial if you want the best of both worlds.
System Requirements
| Component | Minimum | Recommended |
|---|---|---|
| Operating system | Windows 10/11 64-bit, macOS, or 64-bit Linux | Same, fully updated |
| RAM | 4 GB | 8 GB or more |
| Disk space | 2 GB free for GRASS | 10 GB+ free (elevation data is heavy) |
| Internet | Needed for download | Needed for demo data |
GRASS is light compared to commercial GIS. The Windows installer is around 1 GB. A free SRTM elevation tile is about 25 to 50 MB, so almost any student laptop can follow this tutorial.
Step 1: Download GRASS GIS 8.5
Get GRASS only from the official page: grass.osgeo.org/download. This is the only safe source. Never download GIS software from random software sites.
On Windows, the official route is the OSGeo4W network installer — GRASS ships as part of it. Download the osgeo4w-setup file and run it. On macOS, grab the official app bundle. On Linux, install from your distribution’s repository (for example apt install grass on Ubuntu).
Step 2: Install GRASS on Windows
Run the OSGeo4W setup. Choose Advanced Install and make sure the GRASS GIS package is selected. Keep the defaults unless you know exactly what a setting changes.
When it finishes, you get a GRASS GIS icon in the Start menu. Launch it once to check the install worked. Close it again — we will set things up properly in the next steps.
Step 3: Understand Database, Location, and Mapset
GRASS stores data differently from QGIS or ArcGIS, and this confuses every beginner. There are three levels, and you must understand them:
Database is a plain folder on your disk, for example C:\grassdata. It holds everything.
Location (called “project” in GRASS 8.5+) is a coordinate system. All data inside one location shares the same projection, so your layers always align by design.
Mapset is a working folder inside the location. You edit your own mapsets. The PERMANENT mapset holds the shared base data. You must pick a location and mapset every time GRASS starts.
Step 4: Create Your First Location and Mapset
Open GRASS GIS. The startup screen asks for a database folder — create a grassdata folder anywhere on your disk and select it.
Now create a new location. The easiest method is Match georeferenced file: pick your DEM file and GRASS reads its projection automatically. Alternatively, pick an EPSG code (4326 for WGS 84, or your local UTM zone).
Name the location, then create a mapset inside it, for example my_first_project. Click Start GRASS session. The main window opens: the Layer Manager on the left and a map display on the right.
Step 5: Import a Free Elevation Model (DEM)
Free elevation data comes from the USGS EarthExplorer at earthexplorer.usgs.gov. Search for your area and download an SRTM 1 Arc-Second tile in GeoTIFF format. A free account is enough.
In GRASS, go to File > Import raster data > Simplified raster import (r.import). Select your GeoTIFF and give the output a simple name like elevation. Click Import. Your DEM is now inside the GRASS database.
Step 6: Set the Computational Region
This step is the heart of GRASS, and the one beginners skip. GRASS only computes inside the current computational region — a rectangle with a fixed resolution. Set it from your raster:
g.region rast=elevation -p
Type this in the Console tab, or use Settings > Region > Set region and pick your raster. The -p flag prints the region so you can confirm it matches your DEM. From now on, every module works exactly on this extent and resolution.
Step 7: Create a Shaded Relief Map
Now the fun part — your first real analysis. In the Console tab, type:
r.relief input=elevation output=shaded_relief
This runs GRASS’s hillshade module. It treats your DEM as terrain and lights it with an artificial sun. The result, shaded_relief, is a beautiful 3D-looking map of the land.
Add it to the display: click Add raster map layer in the Map Display toolbar and choose shaded_relief. You just made your first GRASS map.
Step 8: Calculate Slope and Aspect
One module rarely travels alone. Compute slope and aspect from the same DEM:
r.slope.aspect elevation=elevation slope=slope aspect=aspect
slope now holds the steepness of every pixel, and aspect holds the direction each slope faces. Display the slope layer and try the color table tools to highlight steep areas. These two maps are the foundation of flood studies, landslide analysis, and site selection.
Step 9: Export Your Result as GeoTIFF
A result you cannot share is not finished. Go to File > Export raster map > Common formats export (r.out.gdal). Pick your shaded_relief map, choose GeoTIFF as the format, and save it.
The exported GeoTIFF keeps its georeferencing. Open it in QGIS or any GIS software to overlay it on other maps. You now hold a real terrain product made with free software.
5 Mistakes Every GRASS Beginner Makes
1. Skipping the region setting. Forgetting g.region is the number-one beginner error. Modules then run on the wrong extent or at an absurd resolution, and either fail or produce empty maps.
2. Mixing projections in one location. Each location has exactly one projection. Data in another projection belongs in a different location, then gets reprojected and imported.
3. Working in the PERMANENT mapset. PERMANENT holds shared base data. Do your experiments in your own mapset so you can delete mistakes freely.
4. Using long names with spaces or special characters. Keep map names short and lowercase: elevation, not My Elevation Final v2. The modules reward you with fewer errors.
5. Opening GRASS data directly in other software. GRASS stores maps in its own database format. Always export with r.out.gdal or v.out.ogr before sharing with anyone.
⬇ Download GRASS GIS Free (Official Site)
GRASS GIS Tutorial FAQs
Is GRASS GIS really free?
Yes. GRASS GIS is free and open-source software under the GNU GPL. No licenses, no trial limits, no watermarks. Students and companies use it without paying a cent.
Is GRASS GIS hard to learn?
The database, location, and mapset concept takes one session to grasp. After that, the module system is logical: every module takes named inputs and produces named outputs. This tutorial covers the steepest part.
Should I learn GRASS GIS or QGIS?
Learn both. QGIS is easier for everyday mapping and cartography. GRASS is stronger for heavy raster analysis — and it plugs into QGIS through the Processing Toolbox, so the two work together.
Where can I download free elevation data?
USGS EarthExplorer (earthexplorer.usgs.gov) offers free SRTM and other DEMs worldwide with a free account. For an instant start, the official site also links the North Carolina sample dataset at grass.osgeo.org.
Can GRASS GIS run on a low-spec laptop?
Yes. GRASS is lighter than most commercial GIS software and runs well on 4 GB of RAM. Start with a small study area (subset your DEM) and processing stays fast.
What can I analyze after this tutorial?
Watershed delineation (r.watershed), viewshed analysis (r.viewshed), cost surfaces (r.cost), and image classification (i.maxlik). The module manual at grass.osgeo.org is your roadmap from here.
System requirements (GRASS GIS 8.5): Windows 10/11 64-bit, macOS, or 64-bit Linux | 4 GB RAM minimum (8 GB+ recommended) | 2 GB free disk for GRASS + 10 GB for data | internet for downloads. GRASS is free from grass.osgeo.org/download.
Related posts: GRASS GIS Software Download · QGIS Download for Windows, MacOS and Linux · GIS Computer Requirements for Software · 12 Best Free GIS Software for Students (2026)
You installed GRASS GIS 8.5, created your first location and mapset, imported a real elevation model, set the computational region, and produced a shaded relief map plus slope and aspect layers. That is the complete beginner workflow — the same concepts power watershed studies and terrain analysis worldwide. Practice it on your own study area this week, then try r.watershed for stream delineation. GRASS is free, deep, and yours to master. Keep mapping the terrain.